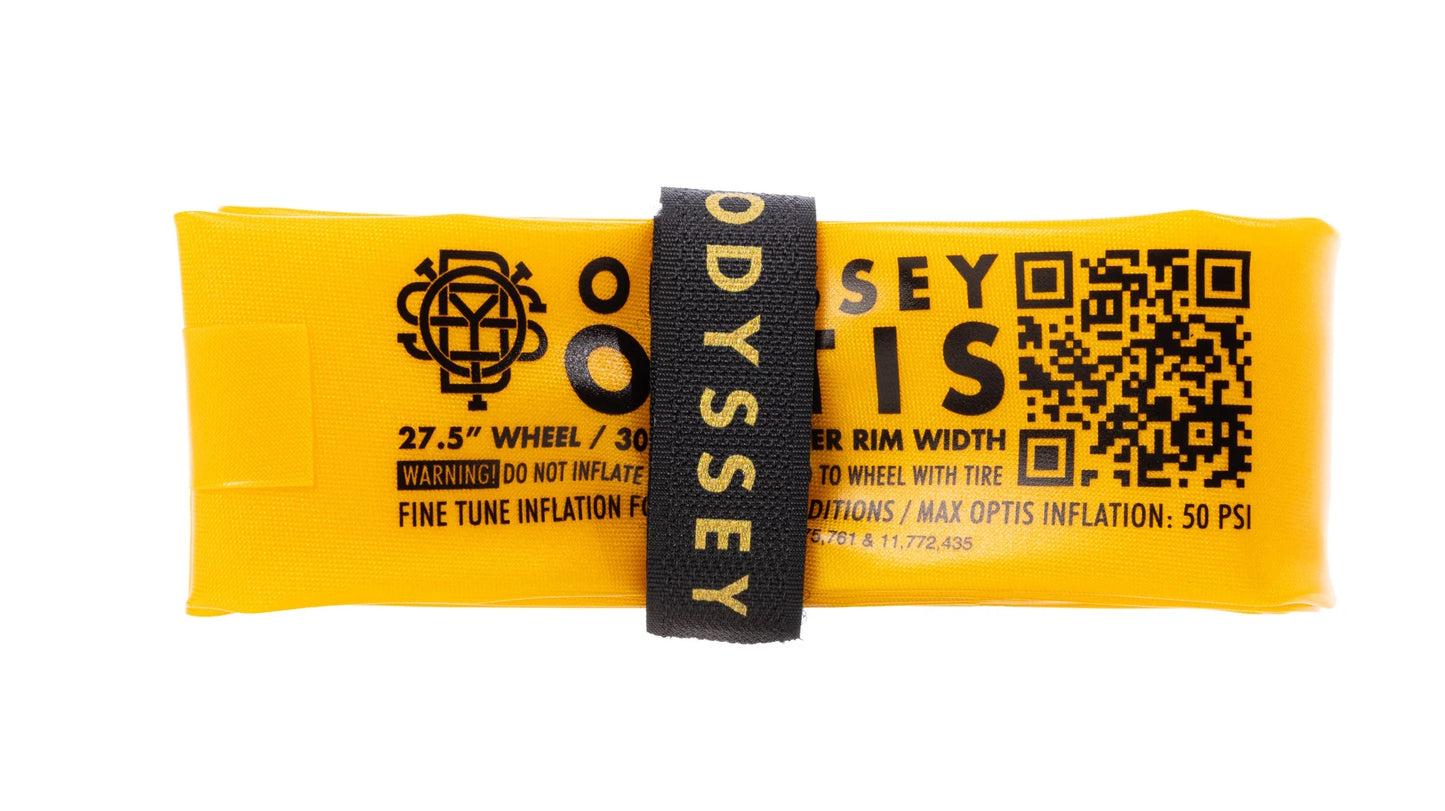
1.) Remove the OPTIS insert’s lock nut, black Tire Valve and spacers & add just enough air to the insert so that it begins to take its shape.
If the rim has a flat area around the valve hole then the supplied O-ring seal will work as needed. If the rim bed is an unusual shape, the rubber seal provided by the rim manufacturer can be used instead of the O-ring.
Mount the OPTIS insert to the rim & check that the outer panel is centered and straight.
The rim’s height will determine if/where spacers are needed. While pressing the valve down hard against the rim, put the black Tire valve next to the gold OPTIS valve & check that the side holes are aligned between the two plastic caps on the ends of the black Tire valve.

If the rim is shallow & the side hole is not below the top cap, then add spacers to the gold OPTIS valve as necessary. Note that the black Tire valve will move closer to the rim as the seal is compressed.
![]()
2.) Slide the black Tire Valve onto the gold OPTIS Valve & squeeze the assembly tight. On most rims there will be a gap between the top cap of the black Tire valve & the threads of the gold OPTIS valve.

A small gap of 1-2mm is acceptable, otherwise one or more plastic spacer washers will need to be installed on top of the black Tire Valve. Make sure that the lock nut can be tightened properly so that the valve will seal to the rim.
![]()
3.) With a functional seal configuration established, loosen the locknut & the black Tire Valve. This will allow the gold OPTIS Valve to be free to move, which will assist w/ mounting the tire.
4.) Put the wheel inside the tire and begin to mount the tire starting opposite the valve & working around the rim. Add a normal amount of regular sealant directly to the tire before mounting the final part of the tire’s second bead. It is possible to add sealant through the black Tire Valve but adding it directly to the tire is preferable. If it is added through the valve, be sure to clean the airway by blowing air through it before refitting the Presta core.
5.) Tighten the OPTIS Valve’s lock nut. Do not overtighten. Note that the OPTIS Valve lock nut uses a unique thread spec. Only ever use the supplied gold OPTIS Valve lock nut. The system’s Presta valves & valve caps use standard threading.
Inflation and Tire Seating
1.) Add some pressure (15-30 PSI} to the OPTIS insert using the central gold OPTIS valve, this will begin to push the tire beads towards their seats.
2.) Add air to the tire using the black Tire Valve. This is best done w/ the Presta core removed. The tire should seat easily to the rim in most situations. If the tire & rim combination is unusually difficult, then the normal procedures for seating a stubborn tubeless tire still apply – soapy water & encouraging the bead outwards.
3.) When the tire is fully seated, raise the OPTIS insert’s pressure to 30-40 PSI & inflate the tire to a pressure that is slightly higher than what is used when riding. This will stretch the tire onto the rim & allow it to obtain its full size.
WARNING: Never bounce the wheel before checking that the OPTIS is at a higher pressure than the tire itself. Never ride w/out checking that the OPTIS is at a higher pressure than the tire itself. Never inflate the tire to a pressure that is higher than the maximum limit listed by the manufacturer.
Tuning Pressure
As a starting point, the OPTIS insert pressure should be 33-50% higher than the tire’s.
Since OPTIS allows the tire’s inflation to be lower than it would be in a normal tubeless set-up, it is recommended to start off w/ the tire’s pressure 10% lower than normal.
For example, if the previous tire pressure was 25 PSI, then it should be lowered to 22.5 PSI. In this case, setting the OPTIS insert’s inflation so it is 33-50% higher would mean that it needs to be inflated to 30-33.75 PSI.
Different tire types & riding styles allow for both pressures to be fine-tuned by the rider for the optimal balance between grip and stability.
If OPTIS is replacing a conventional foam insert, using the same tire pressure to start is recommended.
Optimum tire and OPTIS pressure will come down to riding style. Many riders find that experimentation has allowed them to find the sweet spot where grip & stability feels best.
10% is a conservative start & most riders will find that a reduction of 15% yields great results. Experiment w/ small reductions.
Be sure to always keep the OPTIS insert at least 5 PSI higher than the tire’s pressure, & do not exceed the maximum inflation listed on the insert.
Tuning Pressure Suggestions for 27.5" and 29" MTB Tires (in PSI)
| INFLATION | FIRM | MEDIUM | SOFT |
|---|---|---|---|
|
Regular Tubeless |
Tire / OPTIS |
Tire / OPTIS |
Tire / OPTIS |
| 20 PSI | 18 / 23.9 | 17.5 / 23.3 | 17 / 22.6 |
| 21 PSI | 18.9 / 25.1 | 18.4 / 24.4 | 17.9 / 23.7 |
| 22 PSI | 19.8 / 26.3 | 19.3 / 25.6 | 18.7 / 24.9 |
| 23 PSI | 20.7 / 27.5 | 20.1 / 26.8 | 19.6 / 26 |
| 24 PSI | 21.6 / 28.7 | 21 / 27.9 | 20.4 / 27.1 |
| 25 PSI | 22.5 / 29.9 | 21.9 / 29.1 | 21.3 / 28.3 |
| 26 PSI | 23.4 / 31.1 | 22.8 / 30.3 | 22.1 / 29.4 |
| 27 PSI | 24.3 / 32.3 | 23.7 / 31.4 | 23 / 30.5 |
| 28 PSI | 25.2 / 33.5 | 24.5 / 32.6 | 23.8 / 31.7 |
| 29 PSI | 26.1 / 34.7 | 25.4 / 33.7 | 24.7 / 32.8 |
| 30 PSI | 27 / 35.9 | 26.3 / 34.9 | 25.5 / 33.9 |
| Tire Adjustment OPTIS Adjustment |
Regular -10% Tire +33% |
Regular -12.5% Tire +33% |
Regular -15% Tire +33% |
Run-Flat Scenario
The OPTIS insert’s bead locking feature offers a limited amount of run-flat protection when the tire is damaged or punctured. If this occurs, then proceed carefully, come to a stop as soon as possible, & repair or replace the tire as needed before continuing. When the tire loses pressure the risk of damaging OPTIS increases. If OPTIS is damaged, then its ability to hold the bead to the rim will cease. Using the bike under these conditions could result in a crash. Stop use of the bicycle until it is repaired.
Troubleshooting
As with all tire systems, check the pressures before every ride.
OPTIS Inflated, tire loses pressure: On a new install, as with most tubeless set-ups, tire pressure loss is usually down to a poor seal between the valve & rim. Be sure not to overtighten the gold valve nut. A small cup of water can be used to submerge the valves to check for leaks. The tire itself should also be checked for leaks. If a tubeless plug is required to fix the tire, then fully deflate the OPTIS insert & be careful not to puncture the insert when doing the repair.
OPTIS and tire have the same pressure: OPTIS will begin to collapse if the pressure in the tire is greater than the insert’s. In this case both the tire & the insert will read as having the same pressure. Deflate the tire, inflate OPTIS & check for differentiation in pressure. If they both have the same pressure, then it is possible that the OPTIS insert has separated from the valve assembly. Remove the tire & reattach the valve to the OPTIS insert.
Patching and repairing OPTIS: The OPTIS insert is incredibly tough, but if a puncture occurs it can usually be repaired w/ a TPU bicycle inner tube patch kit. Follow the instructions from the TPU patch kit provider.
Re-attaching the OPTIS valve to the insert: Guide the gold OPTIS valve through the bottom of the insert’s retaining strap & feed the valve’s inflation straw back into the OPTIS insert. The O-ring seal should be on top of the insert’s strap, as illustrated. Replacement OPTIS inserts are available in a variety of sizes.


Recycling
OPTIS valves are re-usable across inserts. The valve bodies are aluminum & can be recycled as needed. The OPTIS insert is Nylon & TPU (thermoplastic polyurethane) & it can be recycled w/ “mixed plastics” where possible. Never discard waste on the trails or road.
Info: info@fullfactorydistro.com
Warranty: warranty@fullfactorydistro.com
Phone: 562-623-9995
Hours: M-F, 9-5 PST
U.S. PATENTS: 8,875,761 & 11,772,435
Designed in Sheffield, UK / Manufactured in Taiwan